Duyurular
nature tools help you stay curious without hauling extra weight. In this quick guide you’ll learn which item to carry and which item to leave at home.
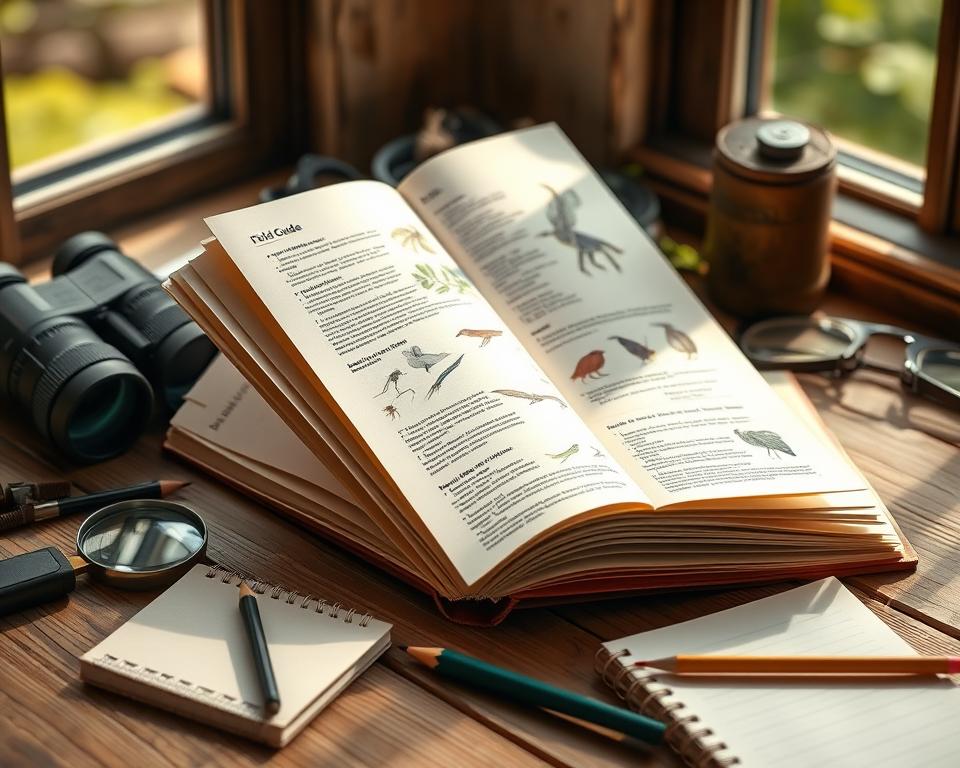
You’ll get a clear overview of compact gear for the field. Think magnifying lens, a pocket microscope you can rest on a leaf, and a camera or binoculars with a harness to shift weight.
Practical tips include using clear containers with tight lids for short, ethical observation, converting a canning jar ring to hold breathable material, and borrowing a stick as a probe and walking aid. Use a guide at home to prep and confirm finds later.
Use this resource to plan a light kit today, practice gentle handling, and verify facts after your outing. Stay curious, check sources, and keep observations respectful and brief.
Introduction
Simple field gear helps you slow down, see small patterns, and make ordinary walks into hands‑on lessons. This guide shows what to carry, what to leave at home, and how to use each item responsibly. Expect clear examples you can use with kids or on your own.
Duyurular
Today you have low‑weight options and smart digital aids that make close observation easier. Prepare at home by browsing field guides to learn key features—size, beak shape, leaf edges—then use quick notes and photos to confirm IDs later.
You don’t need many items to begin. One or two pocket pieces, a small notebook, and a camera or phone cover most needs. Follow simple handling habits: short observations, secure containers for brief study, and gentle release.
- Why simple gear matters: it sharpens your senses and reveals hidden patterns.
- Split tasks: observe in the field, verify at home with a guide.
- Keep it light: a pocket microscope or lens gives big payoff with little weight.
Field Essentials You’ll Actually Use
Bring a compact selection that makes observation easier without weighing you down. Pick items that help you pause, look closely, and record findings in a calm way.
Duyurular
Magnifying glass
A handheld magnifying glass gives quick close-ups of ants, bee features, and flower parts. Hold it over a leaf or petal for a clear view, then snap a photo through the lens if you want a fast record to study later.
Binoculars
Use binoculars when subjects are high in trees or across water, or when you can’t safely approach a nest. A harness moves the weight to your shoulders so longer looks stay comfortable and your neck stays free.
Camera
Take multiple angles—top, side, and habitat—to support ID back home. A camera doubles as a visual journal and is a great way to involve kids: give them a simple photo prompt to boost attention.
Stick and simple carry items
Borrow a sturdy stick to nudge debris, extend reach, or steady a step; return it when you’re done to keep impact low. For most outings, a small pocket lens, a single pair of binoculars, and a camera cover the majority of needs.
Plan your way through an outing by asking, “Will I really use this item today?” That question helps you trim excess and keep the field kit useful and light.
nature tools for identification and observation
Bring just the right references and a small magnifier to sharpen what you notice on a walk.
Field guides: prep at home, confirm later
Before you go, scan a printed or digital guide to note key features: size, beak or eye stripe, cap, host plant, and habit. At the field stop, use the guide to focus your search and take photos or quick notes.
Back home, compare your close, mid, and habitat shots to the guide to confirm IDs and learn subtle differences.
Pocket microscope vs. full-size
Use a pocket microscope on steady surfaces like a leaf, bud, or rock. It sits directly on the surface for high magnification without a lab setup.
Reserve a full microscope for indoor study where vibration is controlled. Carry one small pocket magnifier and one compact scope for most outings.

Containers, nets, buckets: brief, ethical checks
Choose clear, hard-sided containers with tight lids to observe insects or water life briefly. Use a canning ring plus a paper towel or plastic screen to allow air without sharp edges.
- Net and bucket: dip with a fine mesh that still moves through water, then pour into a bucket to view movement.
- Quick holds: keep an item in the container only long enough to note features, then release gently.
- Record: jot host plant, nearby trees, flower color, and light to match in your guide later.
Nature Tools for Kids and Families
Make your next family outing a short, hands-on discovery session with simple, kid-friendly gear. Pack a few reliable items and a low-key plan so everyone can learn without rush.
Kid-ready gear
Start with child-sized binoculars, a simple compass, and a small pocket microscope. These let children see far and very near. Each item fits in a daypack and invites questions.
Starter set and gift ideas
Build a compact starter set: a bucket, two or three clear containers with snug lids, and a fine‑mesh net that works at the bank or in meadow edges. A modest family gift — one shared item like a sturdy bucket — keeps gear simple and useful.
Behavior tips for success
Keep tasks short. Ask each kid to “find one new thing” or “spot three colors.” Rotate roles so a child uses the binoculars, another is the note‑taker, and another takes photos.
“Keep observation windows brief; check that air can circulate when the lid is on, then open and release at the find spot.”
Connect discoveries to simple questions: Were birds overhead? Which plant was nearby? Celebrate small wins like a clear view of a butterfly or a well-framed photo. Pack light — one net, one bucket, and a couple of stackable containers — and end with a quick recap of what each item and person taught the group.
Digital Conservation Tools Shaping Practice Today
Digital maps and interactive platforms now let you test conservation scenarios before you visit a site. These web resources help you prioritize where to spend time and which items to bring into the field.
Marxan Planning Platform
Marxan supports collaborative spatial planning so you can compare conservation scenarios. Use it as a planning tool to view tradeoffs and refine priorities on one map.
Resilient Lands Mapping Tool
This tool highlights climate‑resilient places and likely movement corridors in the U.S. Explore corridors, then link those maps to your local field priorities.
Coastal Resilience
Coastal Resilience lets you visualize shoreline risk and conservation options. Test adaptation and risk‑reduction choices for community planning.
Water Funds Toolbox
Dive into interactive guides that outline steps to design source water protection programs. The toolbox helps you structure projects and track next steps.
Site Renewables Right & Reforestation Hub
Site Renewables Right flags areas where energy projects may face fewer wildlife conflicts. The Reforestation Hub maps feasible U.S. sites to restore trees and plants near your region.
- Practical tip: Treat each digital tool as one lens; pair map views with quick ground checks.
- Use the built‑in guide: follow tutorials, save custom views, and log what worked for the next visit.
Çözüm
Close the loop on a visit by matching one photo to a quick note about habitat and time. Do a brief review at home to confirm IDs with a reliable guide, digital map, or reference source.
Keep your kit simple: choose one item for distance like binoculars, one for close-ups such as a pocket microscope, and one method to record—notes or photos. When you hold insects or aquatic life, use a clear container, secure the lid, allow some air, then release where you found them.
For jars, pair a canning ring with paper towel or a fine screen so edges stay safe. Use a net and a little water in a bucket to watch movement, then return creatures gently. Tidy your list after each walk so the next field visit stays light and focused.
Stay curious and cautious: verify facts, respect plants and birds, and keep learning—one careful look teaches more than many rushed glances.


